3 Easy Curb Rash Fixes For Black Alloy Rims
Not all curb damage is the same. If you have chrome wheels (like these), for example, your wheel repair process is different than if you have standard silver aluminum alloy wheels. Likewise, if you have black rims (either matte or glossy finish), your options for repairing curb damage (aka curb rash) are different. Black rims tend to be more forgiving in terms of refinish quality, but they also tend to show minor scratches and scrapes more easily.
Here are three easy curb rash fixes for black alloy rims.
1. Lightly Sand And Touch Up With Paint
If you want to sand and re-paint the damaged portion(s) of your black rims, there are a few kits available to help you. Most kits include the same materials and recommend the same basic process:
- First, sand the damaged area(s) to smooth them down, as well as remove any existing paint or primer. Most kits include a couple of different sandpaper grits, with a fine grit for the final finish.
- Next, using some sort of filler, any gouges are repaired. The filler needs to be sanded down to the surface of the wheel.
- Finally, primer and then paint are applied. If the wheels have a clear coat finish, clear can be applied carefully to blend with the existing finish.
With time and practice, this process works well enough. However, if you don’t have much experience working with the materials, your first repair job might not turn out as nicely as you’d like it.
Also, unless you’ve got professional level skills, your repair will likely be noticeable on close inspection.
2. Get Your Wheels Fixed Professionally
If you’re looking for a really easy solution, this is it. Professional wheel repair is a service available in most cities, with costs ranging from as little as $75 to as much as $150. A professional will follow the same process outlined above, but with higher-grade materials, better tools, and a more experienced touch.
It should be noted that professional wheel repair can cost as much as a new wheel. If you’ve got three or four damaged rims, it might be almost as cost-effective to buy a new set of wheels (or maybe a set of OEM take-offs on eBay).
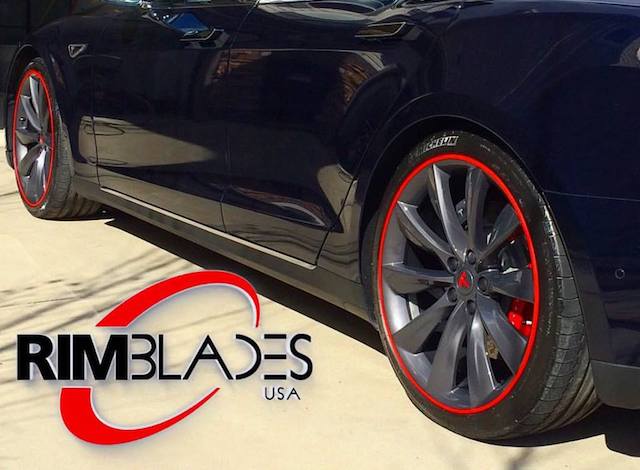
3. Hide Wheel Damage (And Prevent Further Damage) With RimBlades

While this isn’t quite as easy as paying for professional wheel repair, it’s much easier than a DIY wheel refinish. It’s also cheaper than a DIY wheel refinish!
Also, unlike the other options, adding a set of RimSavers or RimBlades to your wheels is a great way to protect them from future damage.
The install process is super simple:
- Clean your wheels with soap and water, and then give the wheel lip surface a good scrubbing with an alcohol-based cleaner. You need to remove any dirt or tire shine from the rim in order for the RimBlades/RimSavers to adhere correctly.
- Apply primer to the wheel (if you’re using RimSavers). The primer makes a big difference in wheel adhesion, which is one of the great reasons to upgrade from RimBlades To RimSavers.
- Starting at the top of the wheel, test fit RimSavers or RimBlades to the wheel lip, then apply 1-2″ of material at a time. Press down as you go, working slowly and carefully.
- When you get all the way around the rim, cut the material (allowing a bit of overlap), and then either tuck in the overlap (RimBlades) or place a cap over it (RimSavers)
- Don’t drive the vehicle for 24-72 hours, so that the adhesive can set
It will take a bit of work, but not nearly as much as refinishing. It will also cost less than professional repair.
Last but not least, if you don’t want the RimBlades or RimSavers to be visible on your black rims, you can order them in the color black so they’re basically hidden.


