How To Remove RimSavers From Your Wheels
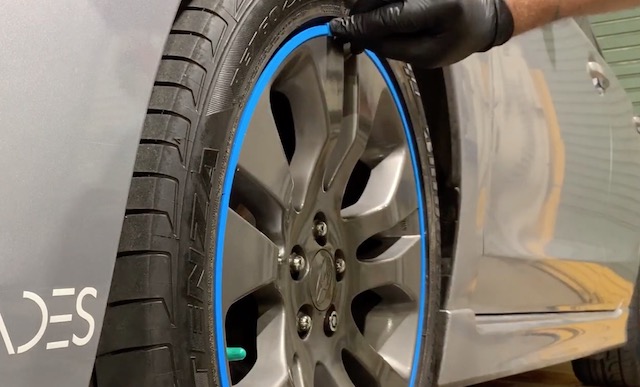
Even if you love the set of colorful RimSavers on your wheels, you may need to remove them at some point. The good news is that RimSavers are removable. This guide will show you how to remove RimSavers in a matter of minutes.
The Most Common Reasons To Remove RimSavers
There are several reasons to remove RimSavers from your wheels. Most commonly, people remove these wheel protectors from their wheels because they’re:
- Replacing tires
- Replacing a single RimSaver that became damaged while protecting a rim
- Looking to switch to another color
Whatever your reason, this tutorial will help you remove your RimSavers in a safe and efficient way.
How To Remove RimSavers

The removal process is quite straightforward:
- Carefully peel the RimSaver off the wheel
- Remove the adhesive off the wheel (without scratching it)
That’s all! If you’re going to apply a new set of RimSavers to your wheels, be sure to clean the wheels first with alcohol and soap and water. We always recommend using our Easy Wheel Prep Kit.
A Way To Make The Project Much Easier

Removing the adhesive from the wheel can be a cumbersome task that requires a lot of elbow grease. You have to be gentle enough not to scratch the wheels or damage the finish, but firm enough to remove the adhesive. Using an adhesive remover, like WD-40, helps speed up the process, but still requires a lot of effort and caution to protect your wheels.
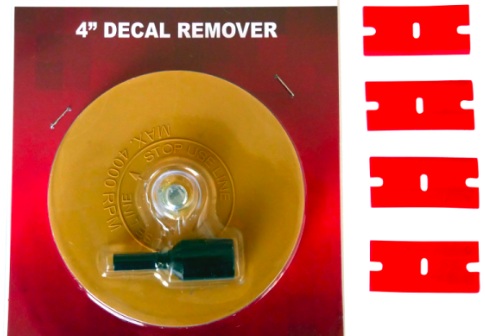
That’s why we stock the 3M Wheel Adhesive Removal Kit. It’s a semi-soft rubber wheel that can be attached to a drill. Just put it on the drill, turn on the drill and let the kit do the work. It’s specifically designed to remove adhesive from wheels without damaging the surface or finish. It also gets the job done a lot quicker.
If you have any questions that weren’t addressed in this guide, you’re more than welcome to contact us.


