Curb Rash Wheel Repair Options – DIY Kit Or RimBlades?
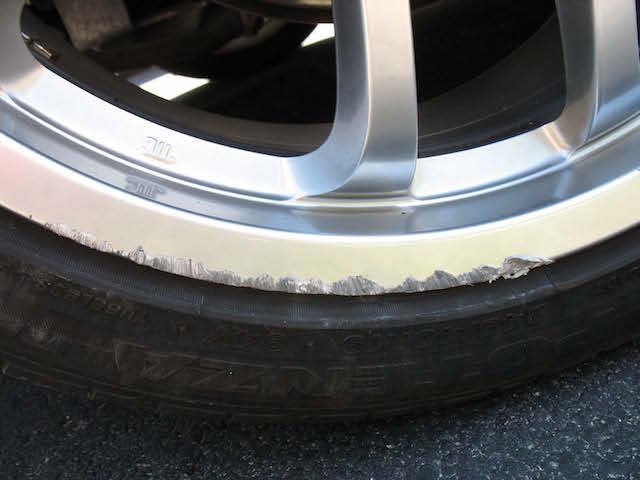
If you’ve got a wheel with curb damage (a/k/a curb rash), you’ve got 4 options:
- Buy a replacement wheel (we covered the pros and cons of buying a new wheel here)
- Hire a professional to repair the wheel, which can cost $75-$150 (more info on that here)
- Repair the wheel yourself with a DIY kit
- Cover up the damage with a set of RimBlades, which will go right on top of the scrape/scratches
We’re going to talk about the pros and cons of options #3 and #4. While we might be a little biased, we’ve tried our very best to present all the facts fairly and honestly.
DIY Wheel Repair Kit Options
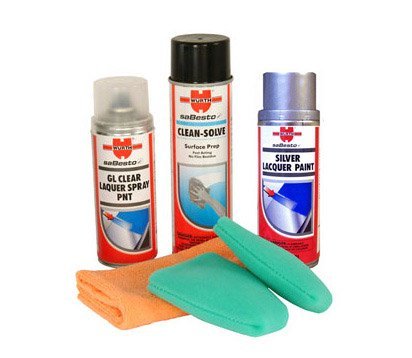
There are a handful of DIY wheel repair kits available on the market. Most of the kits include paint thinner, sandpaper, putty, primer, and paint. Some kits include multiple paint cans and clear coat, others include just a single can of paint that you choose based on the color of your wheels.

Wurth brand wheel repair kits are very popular for German/European vehicles. Another company called ScratchWizard offers wheel repair kits, only they often require users to mix black and silver paint to get the right color.
The DIY wheel repair process is always the same:
- Remove the wheel from the vehicle
- Clean the wheel, using soap and water before progressing to paint thinner
- Sand the wheel
- Apply putty
- Let the putty dry, then sand again until the wheel surface is restored
- Using water to remove any dust, mask off the wheel and fender, then apply primer
- Once the primer has dried, paint the wheel
- Once the paint has dried, apply clear coat
- Once the clear is dry, mount the wheel and stay away from curbs
Sounds simple enough, right? For $50 (or so) and about two hours of work, your wheel is fixed.
GuideToDetailing.com has a nice write-up of the process here, but the author says:
Rather than send the wheel in for refinishing, I decided to do it myself. That was a big mistake (and, trust me, I’m not likely to do my own mag wheel repair again after this experience!)…While the job is easy enough, the problem most DIYers run into is finding the right paint. One brand and color does not fit all.”
While the write-up shows a very nice completed repair, the author of the repair freely admits that he’s done this sort of thing “more times than he cares to admit.” The author also suggests that this isn’t a task for a beginner.
The point? A DIY wheel repair is time-consuming, requires experience, and isn’t exactly cheap (materials are $35-$75, depending on the kit you buy). If your finished repair doesn’t look the way you want it to, the only fix is to hire a professional to go behind you and fix the wheel. Most pros will charge $100+ to fix a wheel, which means a cheap DIY repair could easily cost $150-$200, not counting 2 hours of time.
Still, if you’re very handy, a DIY wheel repair kit isn’t a bad idea.
RimBlades Hide Existing Damage and Prevent Future Damage
While RimBlades don’t fix or repair the wheel, they hide the damage. What’s more, they accent your vehicle, turning a negative (a wheel scuff) into a custom look. RimBlades are easy to install, and unlike many wheel repair kits, RimBlades come with a one-year satisfaction guarantee.
More importantly, RimBlades prevent future damage. Unlike a DIY wheel repair – which requires some skill, is time-consuming, and is surprisingly costly – RimBlades save you time and money down the road. If you accidentally contact the curb, your wheels are covered.
Truth be told, you don’t have to choose between RimBlades and a DIY repair kit. You can use both to fix damaged wheels and then protect them.
But, if you’re not exactly the world’s greatest wheel painter, think about installing RimBlades directly on top of wheel damage. It’s simple, straightforward, and very affordable compared to a professional wheel repair or a time consuming DIY kit.


